
Integrating edible cereal crops like Common Oats into a residential landscape design offers a unique aesthetic that bridges the gap between traditional prairie aesthetics and modern functional gardening. The primary challenge for any landscape architect in this context is managing the transition from the lush, green growth phase to the golden, structural maturity required for yield. When Harvesting Garden Oats, the timing is not merely a matter of agricultural productivity but also one of preserving the visual integrity of the outdoor space. A crop harvested too early remains heavy with moisture, which leads to mold in storage and a loss of the crisp, amber hue that enhances curb appeal during the late summer months. Conversely, waiting too long can result in shattering, where the seeds drop prematurely, and the stalks become brittle and unappealing. Achieving the perfect balance requires a deep understanding of plant physiology, local humidity levels, and the specific microclimate of the backyard environment.
Landscape Design Principles
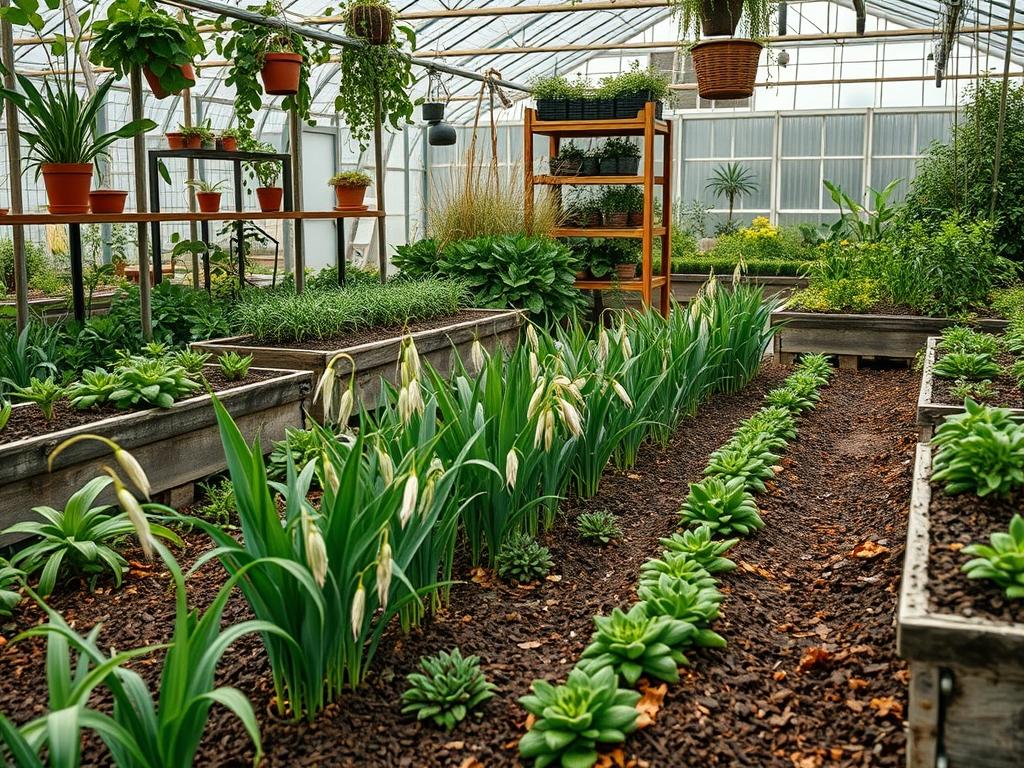
Successful integration of cereal grasses into a landscape depends on the application of core design principles such as elevation layering and focal points. When planning a space that includes Common Oats, designers must consider the verticality of the plant, which typically reaches heights of 3 feet to 5 feet. Placing these grasses in the middle or rear of a border creates a soft, textured backdrop for lower-profile perennials. Symmetry can be achieved by flanking a formal stone walkway with uniform drifts of oats, providing a sense of rhythmic movement as the stalks sway in the wind.
Elevation layers are critical for drainage and visual interest. By using Retaining Walls to create tiered planters, a consultant can ensure that the oats are displayed at eye level while simultaneously managing water runoff. This is particularly important for grain crops that require consistent moisture during the vegetative stage but must dry out significantly before harvest. Irrigation planning should involve zoned systems that allow for the reduction of water delivery to the oat sections as they reach the ripening phase. This strategic drying out, known as physiological maturity, is the first step in ensuring the crop is ready for the sickle. Proper spacing and airflow are also essential. Crowded plants trap humidity near the soil surface, which delays the drying process and increases the risk of fungal pathogens that can mar the appearance of the landscape.
Plant and Material Selection
| Plant Type | Sun Exposure | Soil Needs | Water Demand | Growth Speed | Maintenance Level |
| :— | :— | :— | :— | :— | :— |
| Common Oats | Full Sun | Well-drained Sandy Loam | Moderate | Fast | Low |
| Blue Fescue | Full Sun | Low fertility, dry | Low | Moderate | Low |
| Switchgrass | Full Sun to Part Shade | Adaptable, moist | Moderate | Fast | Moderate |
| Purple Coneflower | Full Sun | Organic-rich | Low | Moderate | Moderate |
| Little Bluestem | Full Sun | Well-drained | Low | Moderate | Low |
Implementation Strategy
The transition from a conceptual blueprint to a thriving backyard requires a disciplined implementation strategy. Start with professional grading to ensure the site has a 2 percent slope away from permanent structures. This prevents standing water from compromising the root systems of your cereal crops. Once the grade is established, use heavy-duty Steel Edging to define the boundaries between the oat drifts and the surrounding lawn or Pea Gravel walkways. This prevents the oats from self-seeding into areas where they are not desired.
When planting, incorporate a 2 inch layer of Organic Compost into the top 6 inches of soil to provide the necessary nutrients for rapid early growth. As the oats move toward the harvest phase, the primary task is monitoring the transition from green to gold. To tell when Harvesting Garden Oats is appropriate, you must perform a tactile inspection of the grain heads, also known as the panicles. Take a single grain between your thumb and forefinger and apply pressure. If the grain produces a milky substance, it is far too wet. If it is soft like dough, it still needs more time. The ideal state is the hard dough stage, where your fingernail can dent the grain but not break it. For the most accurate reading, use a Digital Moisture Meter to ensure the moisture content is between 12 percent and 14 percent. At this level, the stalks will feel like dry straw and make a distinct rustling sound when brushed against.
Common Landscaping Failures
One of the most frequent mistakes in residential grain production is improper irrigation management during the final weeks of growth. Over-watering during the ripening stage leads to a condition called lodging, where the heavy grain heads cause the stalks to fall over and rest on the soil. This ruins the vertical aesthetic and exposes the grain to ground moisture and pests. Another common failure is the use of high-nitrogen Fertilizer late in the season. While nitrogen promotes green growth, it can delay the drying process and result in weak, spindly stalks that cannot support the weight of the panicles.
Soil compaction is another silent killer of landscape functionality. If the soil around the oats is packed too tightly, oxygen cannot reach the roots, and drainage is severely hindered. This often happens in high-traffic areas where walkways have not been properly defined with Flagstone or Pavers. Lastly, many homeowners fail to account for the impact of local wildlife. Birds are naturally drawn to ripening oats. Without the use of Bird Netting or strategic placement of decoy predators, a beautifully planned landscape can be stripped of its golden grain in a matter of days, leaving behind shredded stalks and a messy outdoor environment.
Seasonal Maintenance
Managing a landscape with Common Oats requires a seasonal approach to ensure long-term health and beauty. In the spring, focus on soil preparation and early weed suppression. Using a Scuffle Hoe, clear the planting beds of any winter annuals before sowing the oat seeds at a depth of 1 inch. Ensure the irrigation system is calibrated to provide deep, infrequent watering to encourage deep root penetration.
During the summer, the focus shifts to monitoring growth and managing pests. As the oats transition from the flowering stage to the milk stage, keep a close eye on the color change. Once the stalks turn from a vibrant green to a pale straw color, cease all supplemental irrigation. In the autumn, the primary task is the actual harvest. Use a sharp Scythe or Hand Pruners to cut the stalks at the base. Once harvested, the area should be cleared of debris and prepared for a winter cover crop like Winter Rye to prevent soil erosion and maintain nutrient levels. In the winter, use the time to inspect hardscaping elements, such as Retaining Walls and Drainage Pipes, to ensure they are ready for the spring thaw.
Professional Landscaping FAQ
How do I test the oats for dryness without a meter?
Use the fingernail test. Press your nail into the kernel. If the grain is firm and doesn’t produce liquid or soft dough, it is likely dry enough. The stalks should also be brittle and golden.
Will rain ruin my oats if they are almost dry?
A light rain is usually fine if followed by wind and sun. However, prolonged moisture can cause the grain to sprout on the stalk or develop mold. Always harvest before heavy, multi-day rain events.
What is the best tool for a small garden oat harvest?
For residential landscapes, a sharp Hand Sickle or high-quality Bypass Pruners offer the most control. These tools allow you to cut the stalks neatly without damaging the surrounding ornamental plants or soil structure.
How do I prevent the stalks from falling over?
Avoid excessive nitrogen Fertilizer and ensure the plants receive full sun. Proper spacing of 4 inches to 6 inches apart allows for stronger stalks and better airflow, which reduces the risk of lodging.
Can I leave the oats as a winter interest feature?
While the golden stalks look beautiful in winter, the grain will likely drop, leading to excessive self-seeding. For a managed look, it is better to harvest the grain and leave only the cleaned straw for texture.